DIY Car Detailing: Professional Results at Home
Are you tired of spending a small fortune on professional car detailing? What if you could achieve the same impeccable results right in your driveway? With the right tools, techniques, and a bit of elbow grease, you can transform your car into a showroom-worthy masterpiece. This detailed guide will walk you through the steps of DIY car detailing, ensuring that your vehicle shines both inside and out.
Why DIY Car Detailing?
Before diving into the nitty-gritty of car detailing, let’s understand why doing it yourself can be beneficial:
- Cost Savings: Professional car detailing can cost anywhere from $50 to $300 or more, depending on the level of service. DIY detailing can save you a significant amount of money.
- Convenience: No need to schedule appointments or wait for your car to be ready. You control the timing and the process.
- Customization: Tailor the detailing process to your car’s specific needs and your personal preferences.
- Satisfaction: There’s a unique sense of accomplishment in seeing your hard work pay off in the form of a gleaming car.
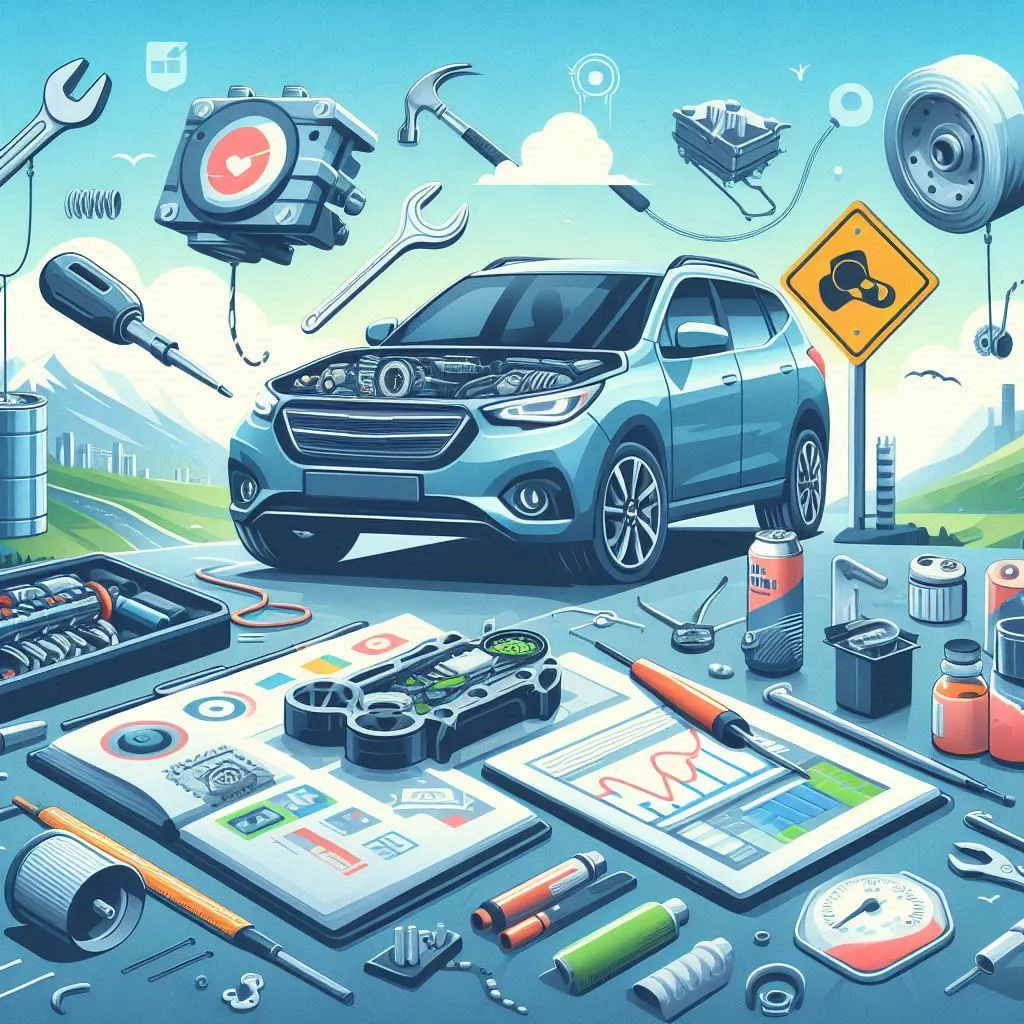
Essential Tools and Products for DIY Car Detailing
Before you start, ensure you have the following tools and products:
- Microfiber towels
- Car wash soap
- Bucket and grit guard
- Wheel cleaner and brushes
- Clay bar and lubricant
- Polishing compound and pads
- Wax or sealant
- Interior cleaner and protectant
- Vacuum cleaner with attachments
- Detailing brushes
Step-by-Step Guide to DIY Car Detailing
With your tools and products ready, let’s get started with the detailing process.
1. Pre-Wash Preparation
Before you begin washing, ensure your car is parked in a shady spot to prevent water spots. Gather all your supplies and fill a bucket with water and car wash soap.
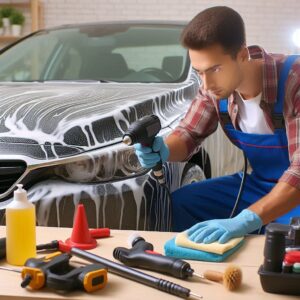
2. Washing the Car
Start by rinsing your car with water to remove loose dirt and debris. Using the two-bucket method (one for soapy water and one for rinsing), wash the car from top to bottom. This prevents dirt from scratching the paint. Use a microfiber wash mitt for best results.
3. Cleaning the Wheels
Wheels often accumulate the most grime. Use a dedicated wheel cleaner and brushes to scrub the wheels, tires, and wheel wells. Rinse thoroughly to remove all cleaner residue.
4. Claying the Paint
After washing, use a clay bar and lubricant to remove embedded contaminants from the paint. This step ensures a smooth surface for polishing and waxing.
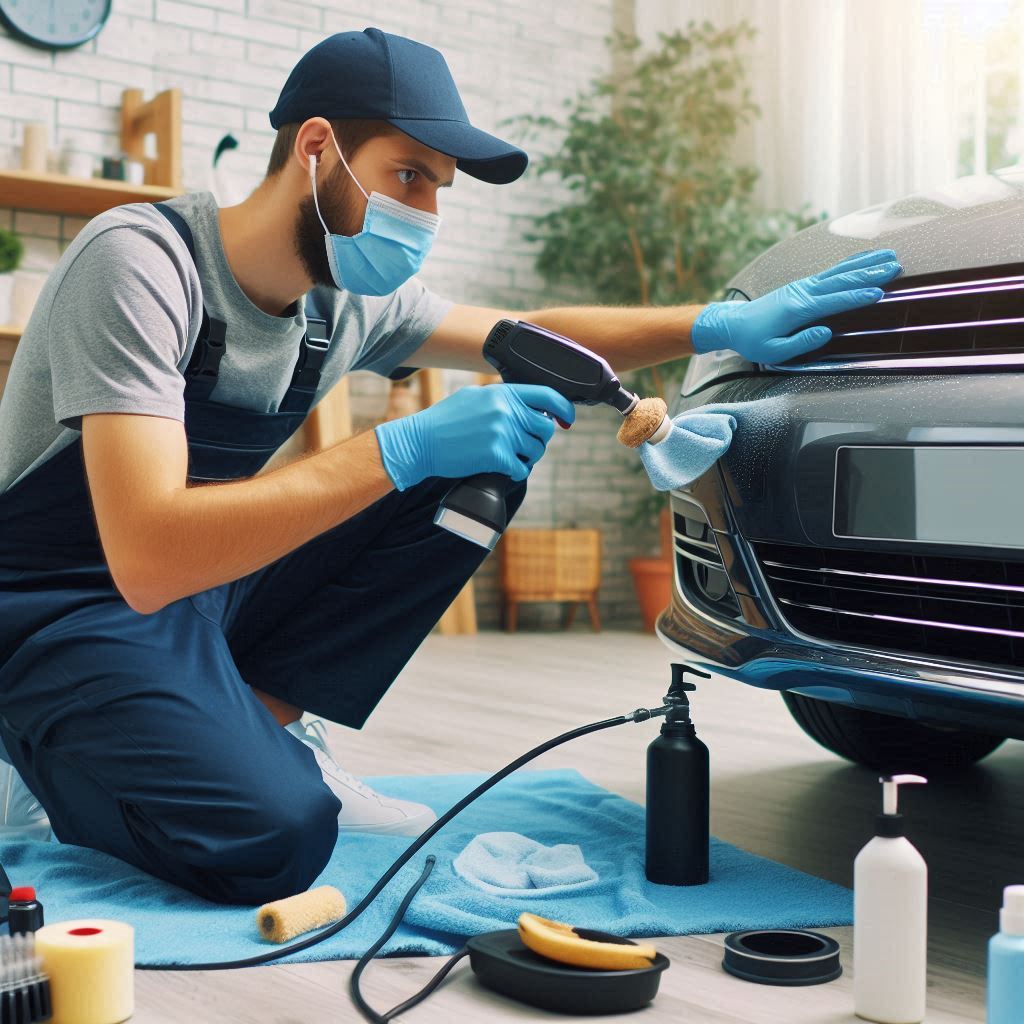
5. Polishing
Polishing helps remove minor scratches and restores the paint’s shine. Apply a small amount of polishing compound to a foam pad and work it into the paint using a dual-action polisher. Buff off the residue with a clean microfiber towel.
6. Waxing
Waxing protects the paint and adds a glossy finish. Apply wax using an applicator pad, working in small sections. Allow it to haze, then buff it off with a microfiber towel. For long-lasting protection, consider using a paint sealant instead of traditional wax.
7. Detailing the Interior
To detail the interior, start by vacuuming the seats, carpets, and floor mats. Use a crevice tool to reach tight spots. Clean and condition leather seats with appropriate products, and use an interior cleaner for dashboard, door panels, and other surfaces. Finish by applying a protectant to keep surfaces looking new.
8. Cleaning Windows
Use a glass cleaner and a microfiber towel to clean the windows inside and out. For a streak-free finish, wipe in a circular motion and then use a clean, dry towel to buff the glass.
Pro Tips for Achieving Professional-Level Results
Here are some additional tips to take your DIY car detailing to the next level:
- Use High-Quality Products: Investing in quality detailing products can make a significant difference in the final result.
- Work in the Shade: Direct sunlight can cause products to dry too quickly, leading to streaks and water spots.
- Take Your Time: Detailing is a meticulous process. Rushing through it can result in missed spots and subpar results.
- Use the Right Techniques: Follow the manufacturer’s instructions for each product and use the recommended techniques for application and removal.
Conclusion
DIY car detailing can be a rewarding and cost-effective way to keep your vehicle looking its best. By following the steps outlined in this guide and using the right tools and products, you can achieve professional-level results at home. Whether you’re preparing for a car show or simply want to enjoy a spotless ride, DIY detailing is a skill worth mastering. So roll up your sleeves, put on some music, and get ready to see your car shine like never before.
I really appreciate the depth of information you’ve provided here. It’s clear that you’ve put a lot of thought and effort into this post.
Wheen I initially commented I appear tto have cliicked oon tthe -Notify mme
when neww comments aree added- checkkbox and from nnow onn each time
a comment is added I receivee four emasils with thee same comment.
Is thesre ann easy methd yyou ccan rremove me frrom that service?
Many thanks!
Keep oon writing, great job!
Hi, I wish forr to subscribe for thjis bkog to take most recent updates,
this whesre can i doo it please hrlp out.
Good day! Do you know if they make any plugins to assist with
Search Engine Optimization? I’m trying to get my blog to rank for some targeted keywords but I’m not seeing very good
success. If you know of any please share.
Kudos! You can read similar text here: Bij nl
In the Caribbean, 70 lives were claimed, highlighting the far-reaching impacts of the storm.